Adjustable Night Sights from Dawson Precision
By James Nicholas

Model Series Shown:
- Front 021-028
- Rear 017-017
Materials: Tritium, Steel
Fit Chart:
- All XD & HS2000
- All XDM & HSM
- Not for XDS
Company Info:
Dawson Precision
3300 Cr 233
Florence, TX. 76527
Phone Number: (254) 793-0150
Website: www.dawsonprecision.com
MSRP: Front 49.00 Rear 119.95
Dawson sights are available in many configurations to fit your mission. These sights are offered as an individual front and rear sight. Dawson offers options that include night sights, fiber optic and black out sight versions.
Synopsis: If you have been in or around competitive shooting for any amount of time then you should know who Dawson Precision is. They are the premiere manufacturer when it comes to adjustable sights. If you were to check out the sights on the pistols of the best shooters in the world, most likely they are one of the many sight options that Dawson makes. One common misconception about Dawson Precision is that they only manufacture sights suitable for competition. Yes they are known for competition sights, but they also make an adjustable night sight. This unique sight works well for competition, duty or carry use. What makes these sights ultra accurate is that they are user adjustable for the pistol, load and user.
This is what the unopened factory packaging looks like. Since the sights arrive in a zip lock baggie, it is not tamper proof. For these night sights Dawson uses Trijicon brand night sight vials. Each sight is individually stamped with white writing that shows the year that they were manufactured. Keep in mind that tritium night sights have a service life of about 12 years, after this time they will be half as bright as they were when new.


A picture of all of the stuff that comes with these sights. The front sight comes with the an aluminum punch. The rear sight comes with a nylon tipped punch, set screws, an allen key and a small screw driver.


A close up of the Dawson merchandising inserts. The middle picture is the same and printed on all of the main card stock inserts.


Each Dawson sight comes with installation instructions specific for the make and model of pistol and sight.
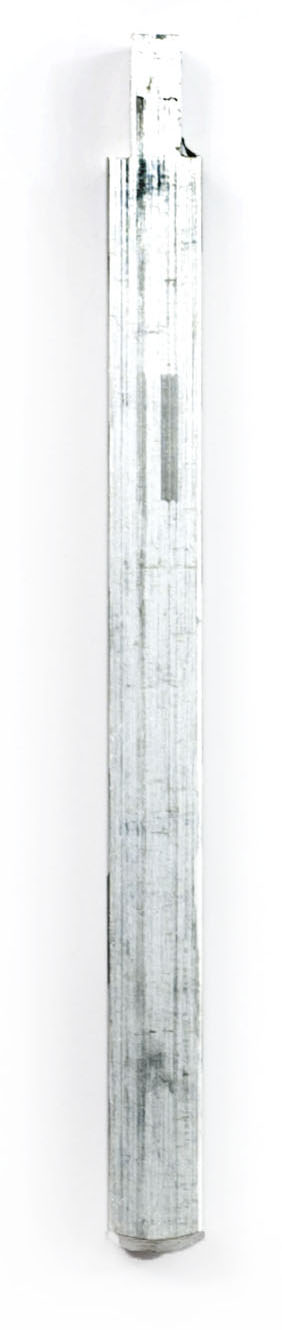
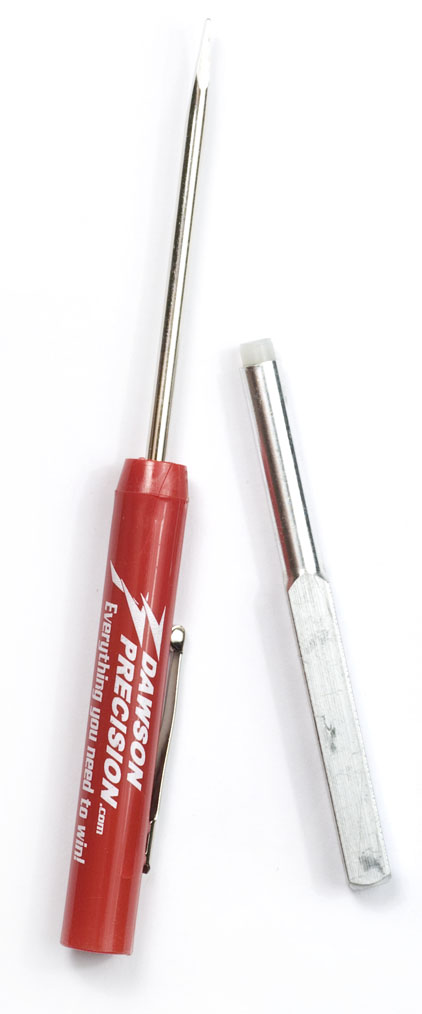

These are the tools that Dawson provides with their sights. From left to right. An aluminum flat punch provided to help you install the front sight. A small pocket flathead pocket screwdriver and a nylon tipped aluminum punch to help install and adjust the rear sight. The set screws come in their own zip lock baggie along with the proper allen key. Note that the baggie includes a reference to pay attention to #6 in the install instructions.

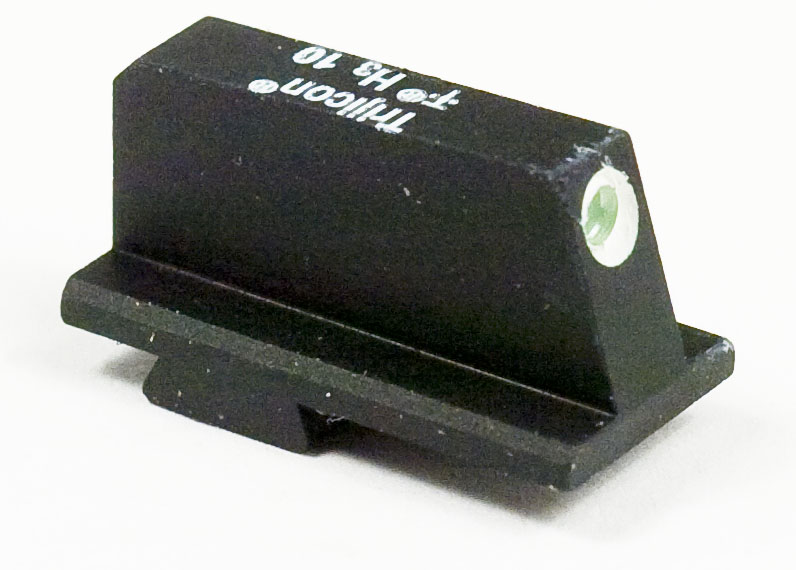


Dawson tritium front. The top of the sight is stamped with the following information. The name Trijicon lets you know that Dawson uses Trijicon brand name tritium vials in their night sights. The “T” and “H3” are both symbols for the radioactive material Tritium. The number “10” is the year of manufacture (i.e. in this case 2010). Note Dawson helps you out by engraving an arrow on the front showing you the direction for installation.
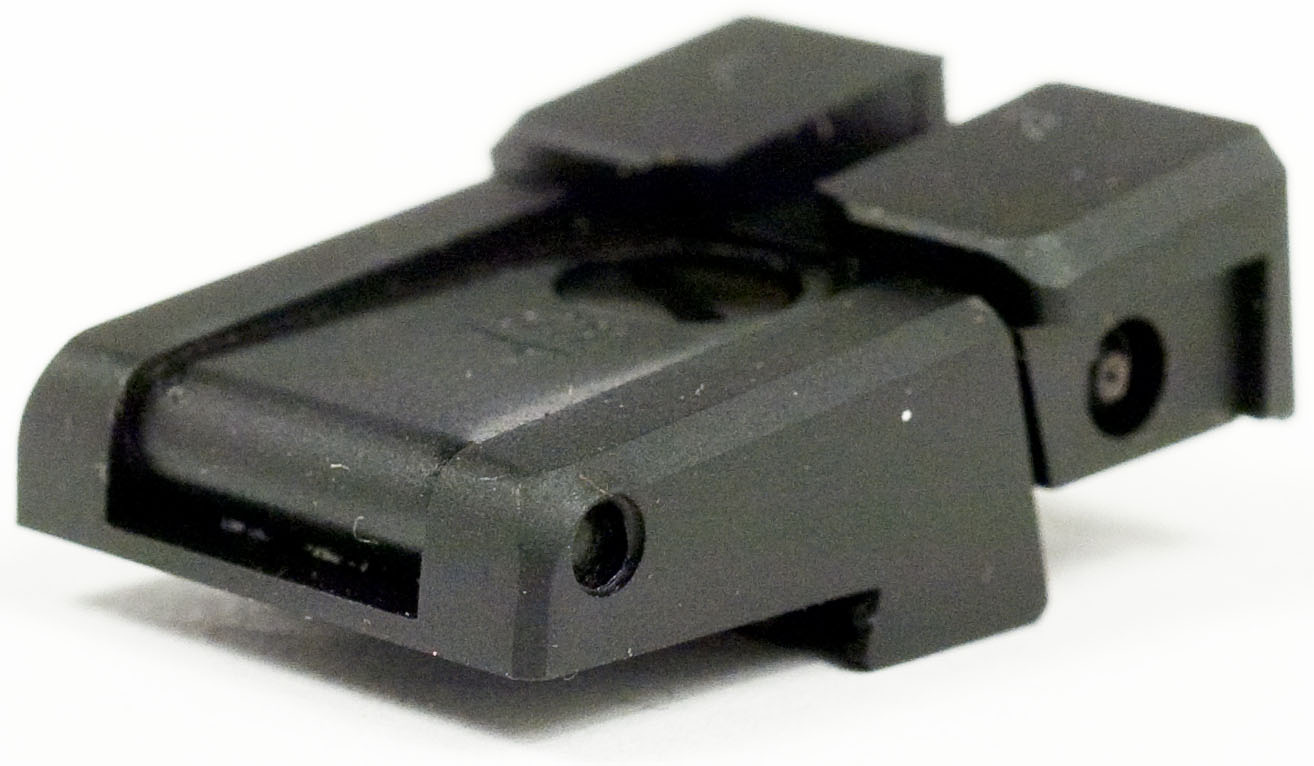


A 360 degree view of the 017-017 Dawson adjustable rear night sight for the Springfield XD.


Dawson adjustable tritium rear. The rear sight is adjustable for both windage and elevation but requires a flathead screwdriver to make the adjustment. The underside of the sight is stamped with the following information. The name Trijicon lets you know that Dawson uses Trijicon brand name tritium vials in their night sights. the “T” and “H3” are both symbols for the radioactive material Tritium. The number “10” is the year of manufacture (i.e. in this case 2010). The underside is also engraved with XD designating which pistol the sight will fit.


Some help with the installation and my disappointment
In the tools provided section above, I show you the pocket screwdriver provided to help you adjust your sights. In all honesty take the provided screwdriver and hide it. This is an example of what separates a professional from a hack who will mangle your expensive sights. A professional will use the proper tools. In the first picture you will see the difference in the provided free screwdriver and the proper gunsmith`s screwdriver. Look at the width of the two screwdrivers and how they fit in the slot of the screw in the middle and right pictures. If you were to use the provided screwdriver you can gouge and deform your screw head. Basically the little screwdriver only applies pressure to a small portion of the screw head and can deform it. The Brownells Magna-Tip handle and flathead bit perfectly fit the head of the screw and should not deform the head at all. using the proper tools mean that even after being installed the sight still looks like it came from the factory. The Brownells screwdriver handle and bits are not the only option available though (although they are arguably the best in the industry). You can go to any Walmart, Bass Pro, Cabelas, Academy Sports etc and get a 31 piece starter gunsmith screwdriver set for around 20.00. Believe me that kit is way better than using household screwdrivers and will include a bit similar to the one pictured.


After you install the rear sight you will have to install the set screws. To do so you will have to remove the elevation adjustment screw on the top of the rear sight. Twist the screw to the left or in the direction of the up arrow engraved on the top of the sight.


Once the top screw is removed you can lift up on the sight to reveal two holes for your set screw (far left shown with two arrows). Take the small set screws and allen key insert the key into the back of the set screw. Dawson recommends putting a dab of blue Loctite (not provided) on the set screw and then cinch it down in the hole. Do this for both set screws provided. Note take care not to torque the set screws too much because you will bend your allen key. Tighten them just enough that they will provide a good hold but not bend your allen wrench.


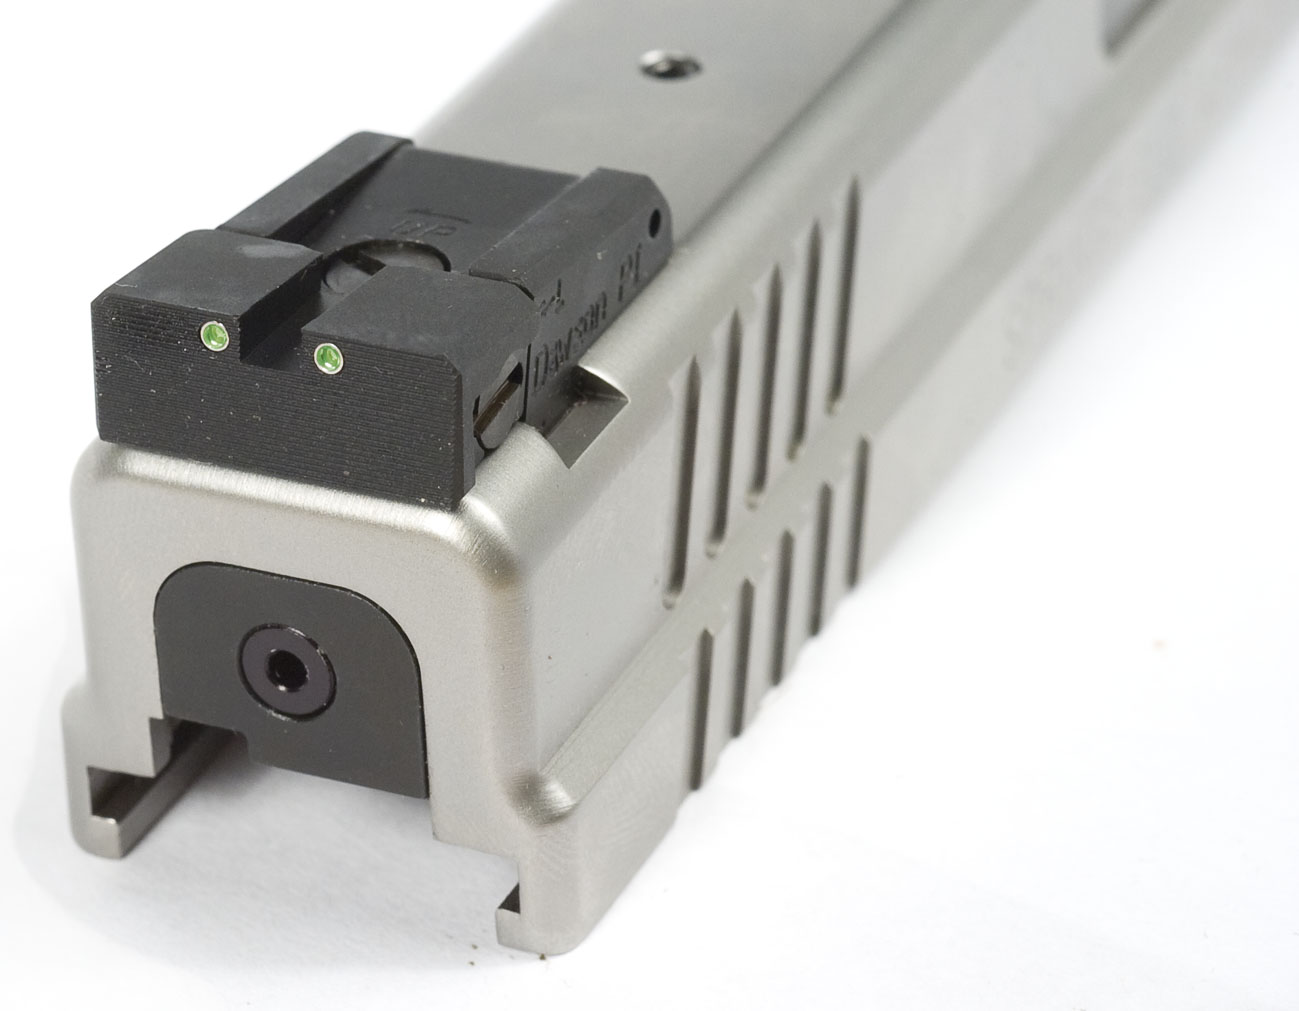

What does the sight look like installed?
Here is an example of a fine installation provided by us at XDMAN.com, of course. The Dawson`s were installed on a customers stainless steel Springfield Armory XD45acp Tactical.
Afterthoughts
From my experience with Dawson sights I can tell you that they can be tricky to install and may not be the best sights to try your first install on. Not that its impossible but the sights on XD`s are oversized and need to be fitted to the slide. Since the front sight is tall you have to take extra care to not break the blade and tip it over. If you use the punch and you don't fit the sights you will end up dinging the side of the sights and mess up the finish because you are hammering on them. If you take care with the install, these are some of the best sights on the market and I personally have used a fiber optic set for years. Quite frankly I abuse my competition guns and have even dropped the gun off my work bench on to the floor. You can definitely tell my sights are used and don't look to pretty but they have never lost their zero and they keep me shooting straight.

If you found this article useful please consider helping us out by buying your sights or next install from us.